How to Replace a Car Radiator?
During operation, a car engine generates a significant amount of heat. If not dissipated promptly, this can not only affect engine performance but may also lead to serious malfunctions. The radiator is the "primary cooling component" in the engine cooling system.
Today, we'll discuss: How to install a car radiator? What precautions should be taken during installation? And how to prevent failures in daily use?
Pre-Installation Preparation
Through preparation involves "careful inspection, complete readiness, and thorough cleaning." Diligently completing these three steps lays a solid foundation for smooth installation and subsequent operation.
CHECK
1. Check the New Radiator
- Check Appearance: Look for deformation, cracks, detached solder joints, etc. Ensure the mounting surfaces are clean and free of debris.
- Check The Model: Ensure the new radiator matches the vehicle model and engine specifications
- Check Accessories: Ensure all accessories (e.g., O-rings/sealing gaskets, mounting brackets/rubber pads, radiator cap) are included and free of damage or signs of aging.
2. Check the Vehicle Readiness
- Engine MUST Be Completely Cool: The optimal time is after the vehicle has been shut off overnight. Operating on a hot engine is extremely dangerous! Spraying high-temperature, high-pressure coolant can cause severe burns.
- Disconnect the Battery NegativeTerminal:Prevent short-circuit risks and protect electronic components.
- Inspect Car Cooling System: Check the water pump, thermostat, connecting hoses, etc., for normal function to avoid chain failures after installation.
PREPARE
1. Prepare the Protective Gear
Safety glasses, chemical-resistant gloves(for coolant), long-sleeved clothing, etc.
2. Prepare Tools & Equipment
Basic Tools:Socket wrench set, screwdrivers, pliers, torque wrench, large-capacity fluid catch container, coolant fill funnel...
Auxiliary Tools:Cleaning brush, plenty of clean absorbent rags/non-woven cloths, marker pen (for marking hose direction)...
CLEAN
Clear away dust, oil sludge, leaves, insect debris, and other debris from the engine bay area around the radiator mounting frame. Focus on cleaning the contact surfaces of the radiator's bottom mounting brackets and the corresponding mounting points on the vehicle frame. Ensure they are clean, flat, and free of rust. Use a brush and cleaner for stubborn stains if necessary, wipe dry with a clean cloth, and maintain a well-ventilated workspace.
Installation Steps & Precautions
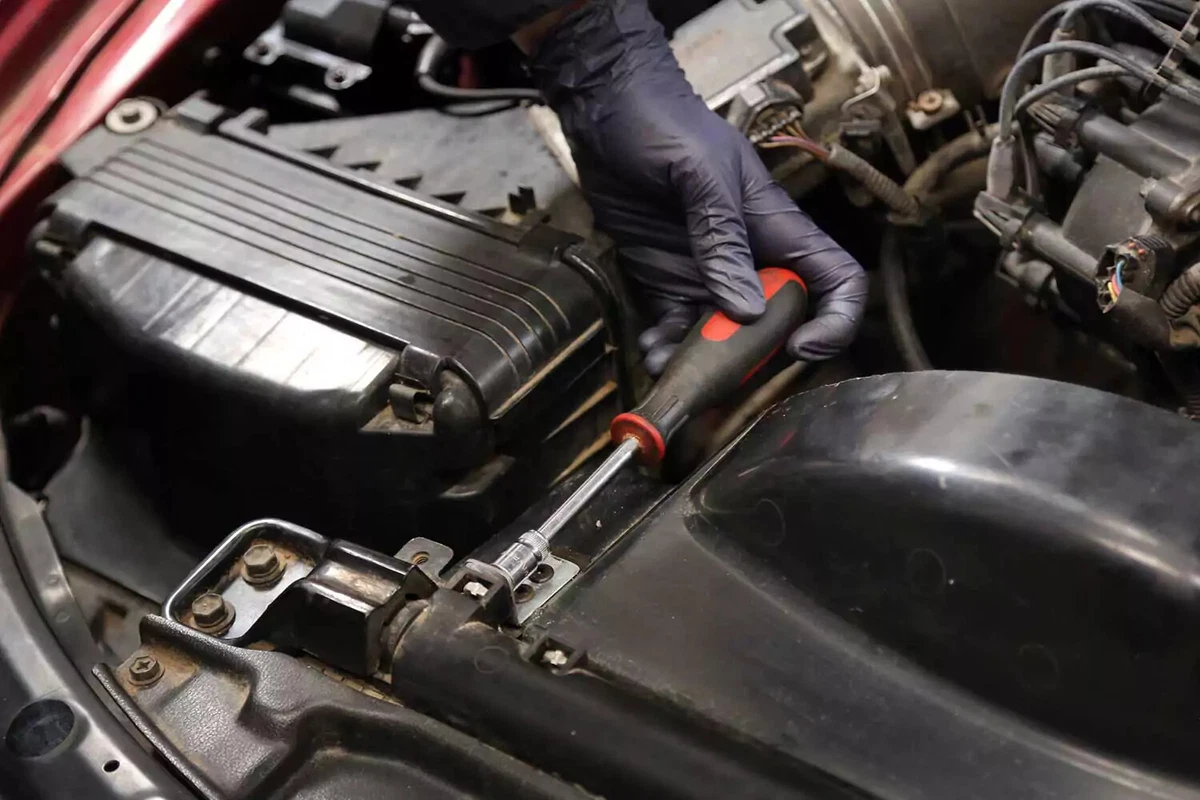
STEP 1 : Removing the Old Radiator
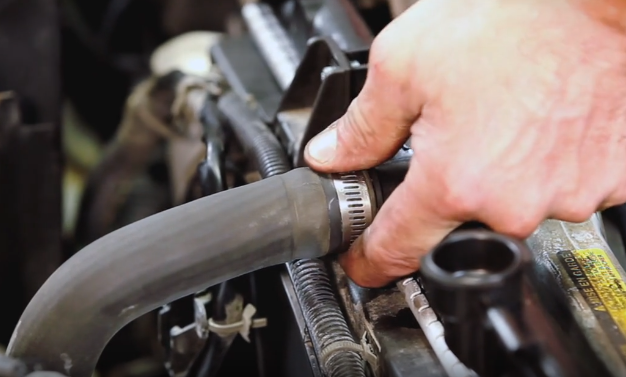
- Drain Old Coolant:With the engine cold, open the radiator bottom drain valve or loosen the lower hose clamp. Drain old coolant into a recovery container.
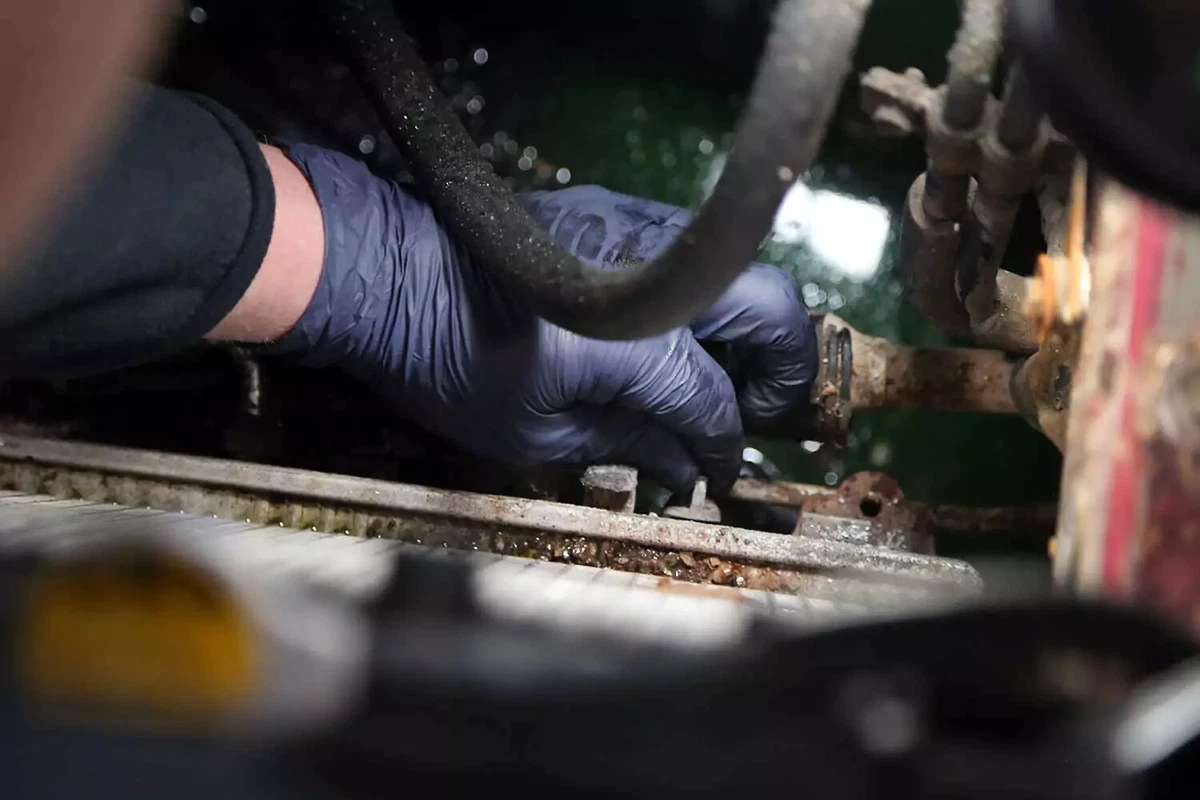
- Disconnect Attachments:Disconnect upper and lower hoses, fan electrical connector, condenser attachments (if equipped by model), etc.
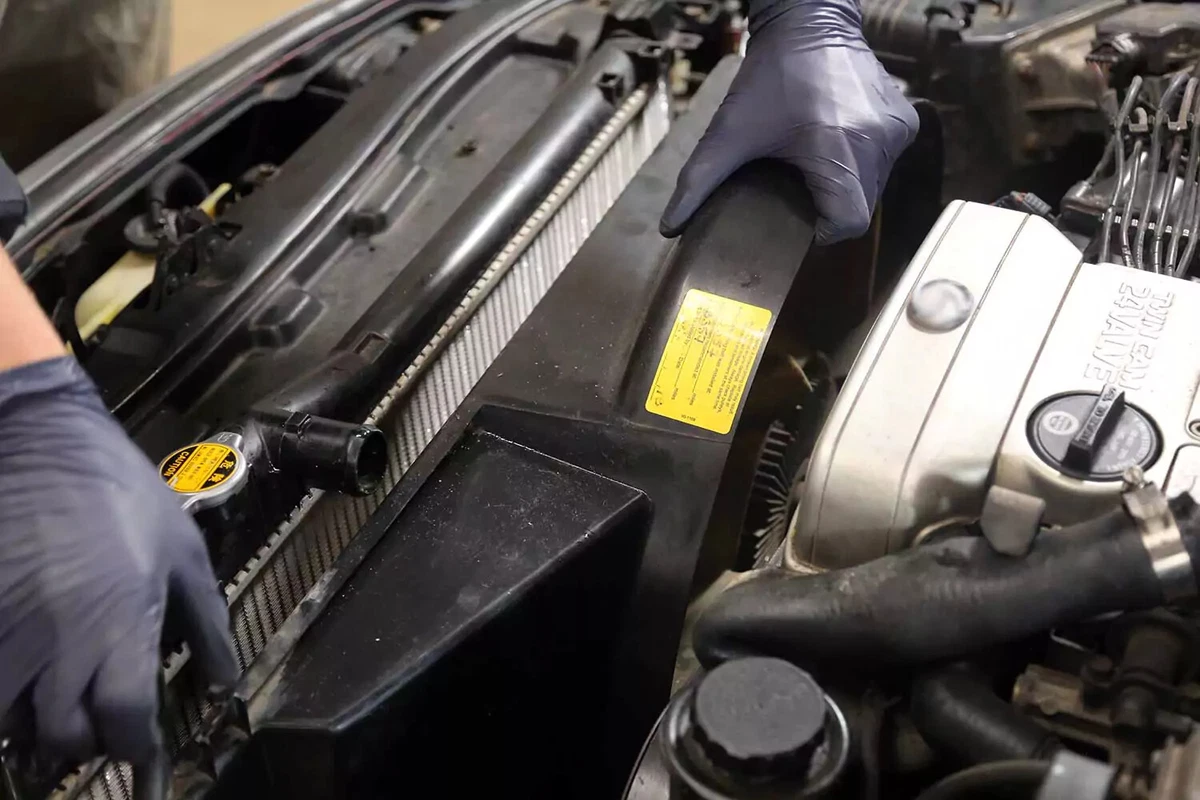
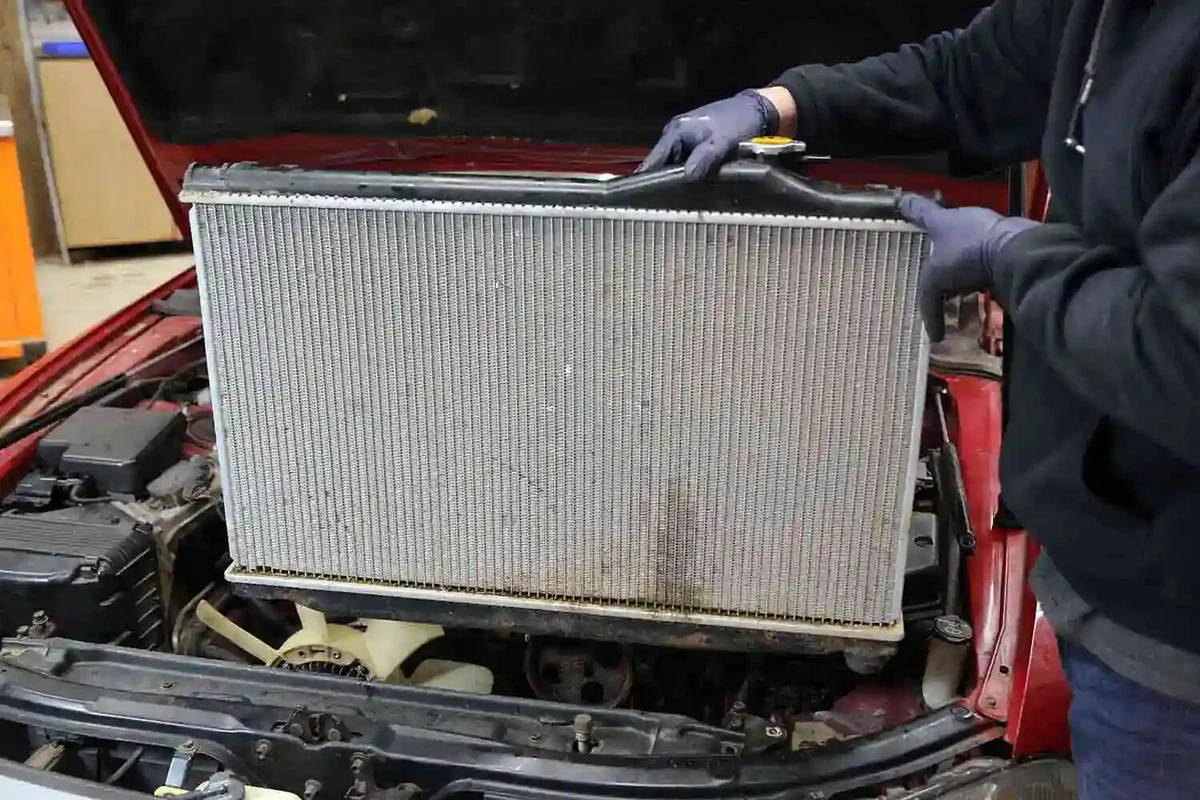
- Remove Old Radiator:Note the positions of screws and brackets for reassembly reference.
STEP2 : Installing the New Radiator
- Position & Mount:Align the new radiator with the mounting holes. Secure using the standard bolts, ensuring a firm fit.
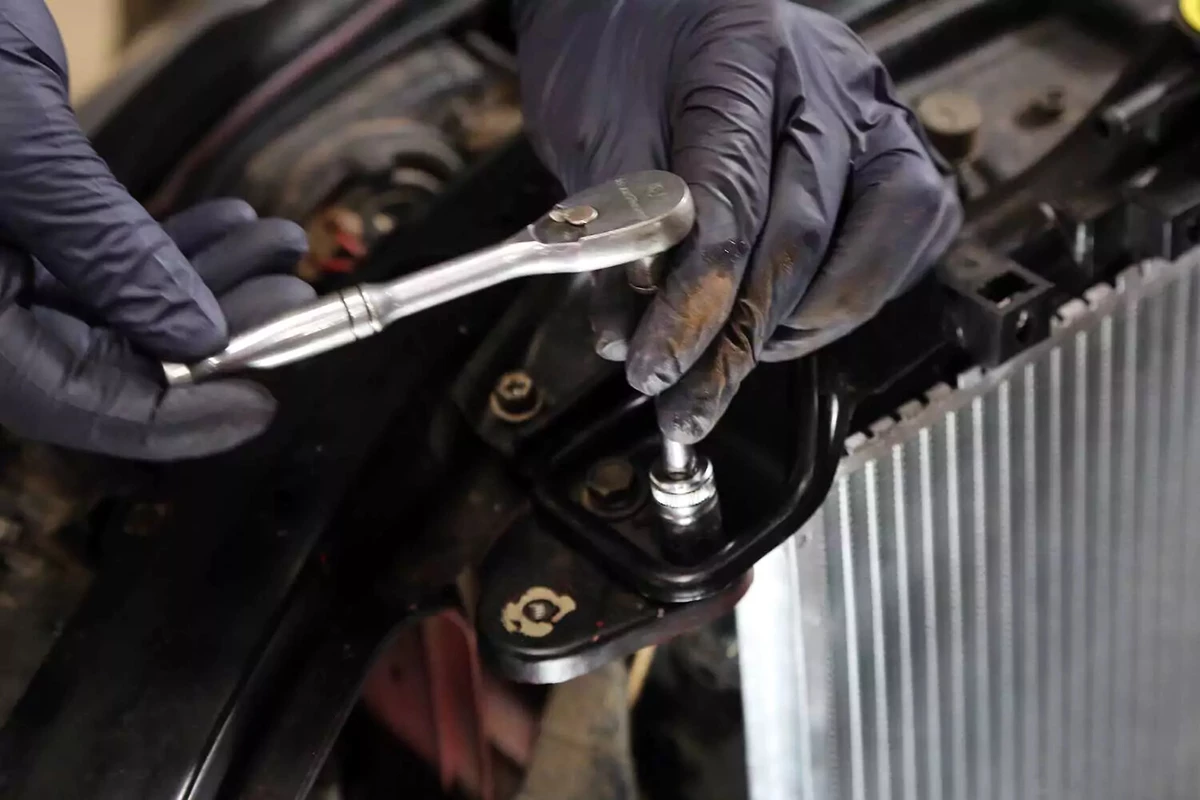
- Connect Key Components:Attach the fan, electrical connectors, inlet/outlet hoses, condenser brackets and other components. After completing all connections, double-check each fitting to ensure secure fastening and prevent leaks or loosening.
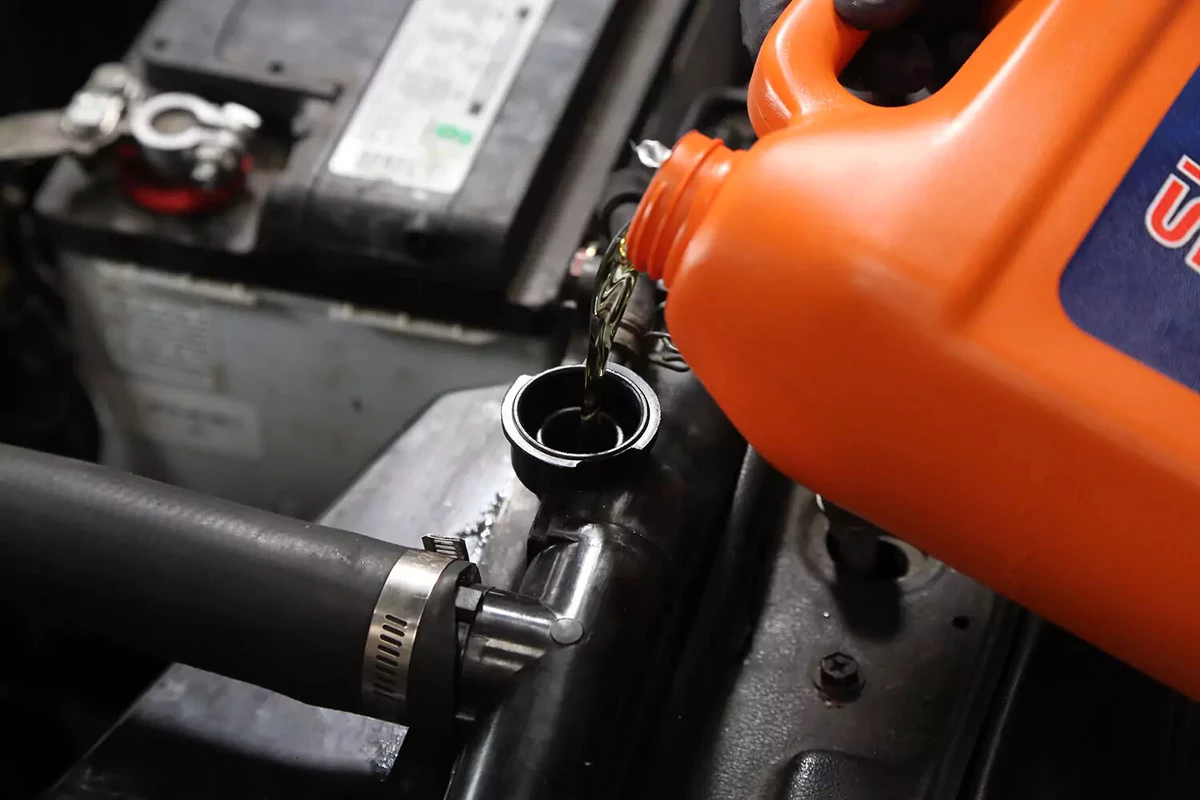
STEP 3:Filling New Coolant & Bleeding
- System Seal Check:Ensure the drain valve is tightened and the overflow tube is unobstructed with its extension hose securely attached.
- Initial Fill:Reinstall the coolant temperature sensor and any other accessories. Fill with the specified type/brand of coolant to the appropriate level.
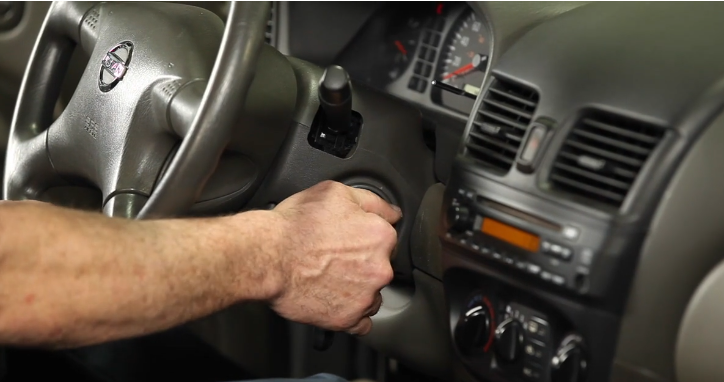
- Circulating Exhaust:Start the engine. Observe coolant circulation. Check all joints for leaks. Monitor the temperature gauge for normal readings. Once the engine reaches normal operating temperature, shut it off. Check the coolant level in the radiator and top up if necessary. Open the bleed valve/port (if equipped) or gently squeeze the upper and lower hoses to help purge air.
STEP 4:Final Steps
Secure all hoses and wiring harnesses. Clean up the work area. Recheck the coolant level after one week to ensure no leaks.
Radiator Usage Tips
1. Regularly check coolant level; top up promptly if low.
2. Replace coolant every 2 years or 40,000 km.
3. Avoid prolonged idling in hot weather to reduce cooling system load.
4. Regularly clean dust, leaves, and debris from the radiator surface.
5. Avoid using used or refurbished radiators during installation to prevent potential hazards.
ABOUT FARET
With 25 years of expertise in automotive thermal management, FARET sets the global industry benchmark. Our integrated R&D, intelligent manufacturing, and sales network are powered by three intelligent factories in China, delivering an annual capacity of 8 million units. Our solutions cover 95% of global vehicle models and serve customers in over 100 countries, meeting diverse market demands with precision and reliability.